
Interactive Demonstration
Experience the entire SurePrep tax process from start to finish.
There are four workpaper annotation types available in SPbinder: highlights, markups, workpaper tools, and stamps. When open, the Annotations module appears on the right side of the SPbinder workspace.

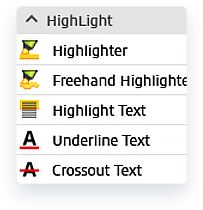
Highlighter: Allows you to highlight everything in a selected area. Click and drag the highlighter box over the area you want highlighted.
Freehand Highlighter: Draw freely with the highlighter.
Highlight Text: Select and highlight text.
Underline Text: Select and underline text.
Crossout Text: Select and cross out text.

Compatible Files: Highlight functions are compatible with PDFs and Outlook Emails. The “Highlight Text,” “Underline Text,” and “Cross Out Text” will only work if the PDF is searchable/selectable or in Native PDF format.
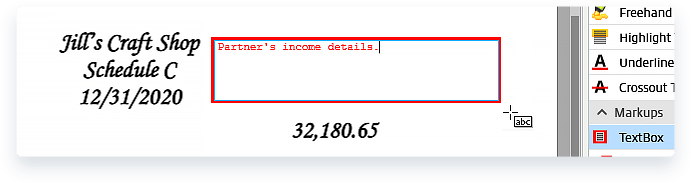
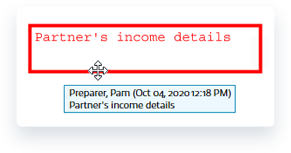
TextBox: Draw a text box on your workpaper to indicate important information. Double click the text box to type.
You can copy-and-paste individual text boxes or entire groups of text boxes between documents. Spell check is enabled by default.
If the final PDF is printed with annotations, it will include text boxes; therefore, they should contain only risk-free information that is relevant to future documentation. For internal collaboration, see the Notes feature.
Customization: Style, thickness, border color, fill color, opacity, font, font size, font color, and text alignment.
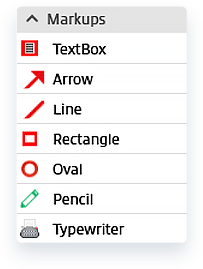
Arrow: Click and drag the arrow tool to place an arrow on your workpaper.
Customization: Style, thickness, color, and opacity. In addition, various start and end styles are available, such as open arrows, circles, squares, slashes, etc.
Line: Line functionality is identical to Arrow functionality (see above) but does not display a start/end graphic.
Holding Shift while creating a Line or an Arrow will force a perfectly horizontal (or vertical) line.

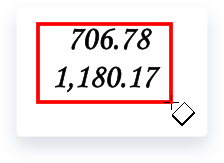
Rectangles and Ovals: Click and drag to place rectangles or ovals on your workpaper.
Customization: Style, thickness, border color, fill color, and opacity.
Pencil: Draw freeform lines.
Customization: Thickness, color, and opacity.

Typewriter: Write directly on a workpaper. The typewriter helps eliminate interpretation errors caused by handwritten markups. Select the typewriter tool and click anywhere to begin typing. Spell check is enabled by default.
Customization: Font size and text color.

Tips!
All markups can be moved, resized, or deleted at will. All markups except freeform pencil markings can be edited at will.
Hover over any markup to see additional details about who placed the markup and when.
The TextBox and Typewriter annotations are separate and distinct from the Sticky Notes feature. TextBox, Typewriter, and Sticky Note annotations all mark a workpaper with information, but only Sticky Notes are tracked in the Review Tree. Items that require a reviewer’s attention should be added with Sticky Notes.
Compatible Files: Markup functions are compatible with PDFs.
Workpaper Tools include notes, cross-references, and calculator tape.
Because these annotations have more complex functionalities, each is covered individually on the next three pages. Keep reading in order, or jump directly to your desired page:
Compatible Files: Workpaper Tools are compatible with PDF, Word, and Excel files.
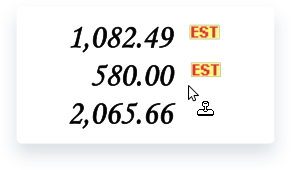
Stamps are standardized symbols that can be placed on any workpaper with a click. Stamps can be edited or deleted at will.
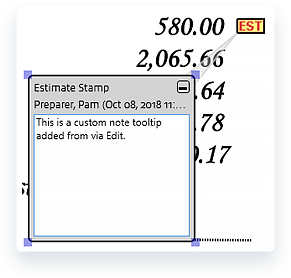
Hover over a stamp to see additional details about who placed the stamp and when.
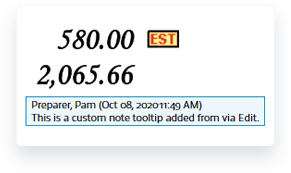
In addition to the automatic change-tracking information displayed in the hover tooltip, users can add custom notes.
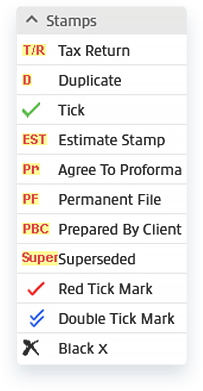
The range of stamps available to users is set by your firm’s administrator.
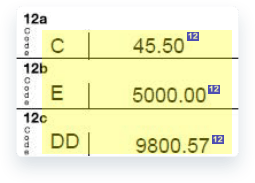
SPbinder includes an array of predefined stamps that correspond to common tax prep annotations. These include single ticks, double ticks, and cross marks; approximate, equals, less/more than, and SUM symbols; common abbreviations like PY, DNR, and N/A; and more.
Your firm’s administrator can also create an infinite number of custom stamps. There are two ways to create a custom stamp.
Method 1: Upload an image.
Method 2: Customize the color and style of a single tick, double tick, or cross mark.
Compatible Files: Stamps are compatible with all file types.