
Interactive Demonstration
Experience the entire SurePrep tax process from start to finish.
SPbinder’s Index Tree allows users to sort documents into their designated categories, which helps organize the workpapers to facilitate a smoother, more efficient preparation and review. The Index Tree consists of folders, proforma’d placeholders, and documents laid out in an order that follows the flow of the tax return.
The Index Tree is located in the left-hand side of the SPbinder workspace, next to the Review Tree tab.

Standard documents scanned through 1040SCAN are automatically sorted into the correct Index Tree folders, unless they are unrecognized or unmatched. Non-standard documents must be indexed manually.
Tax professionals can generate a binder and begin preparation before a client has submitted all documents. If your firm uses TaxCaddy to generate Custom Document Request Lists based on proforma information in your tax software, proforma placeholders will populate the Index Tree until the documents arrive. Proforma’d placeholders appear in blue text.
SPbinder’s Index Tree provides a range of workpaper management features that go far beyond a traditional folder tree.
Toolbar controls
Action icons can be found across the top of the Index Tree panel.
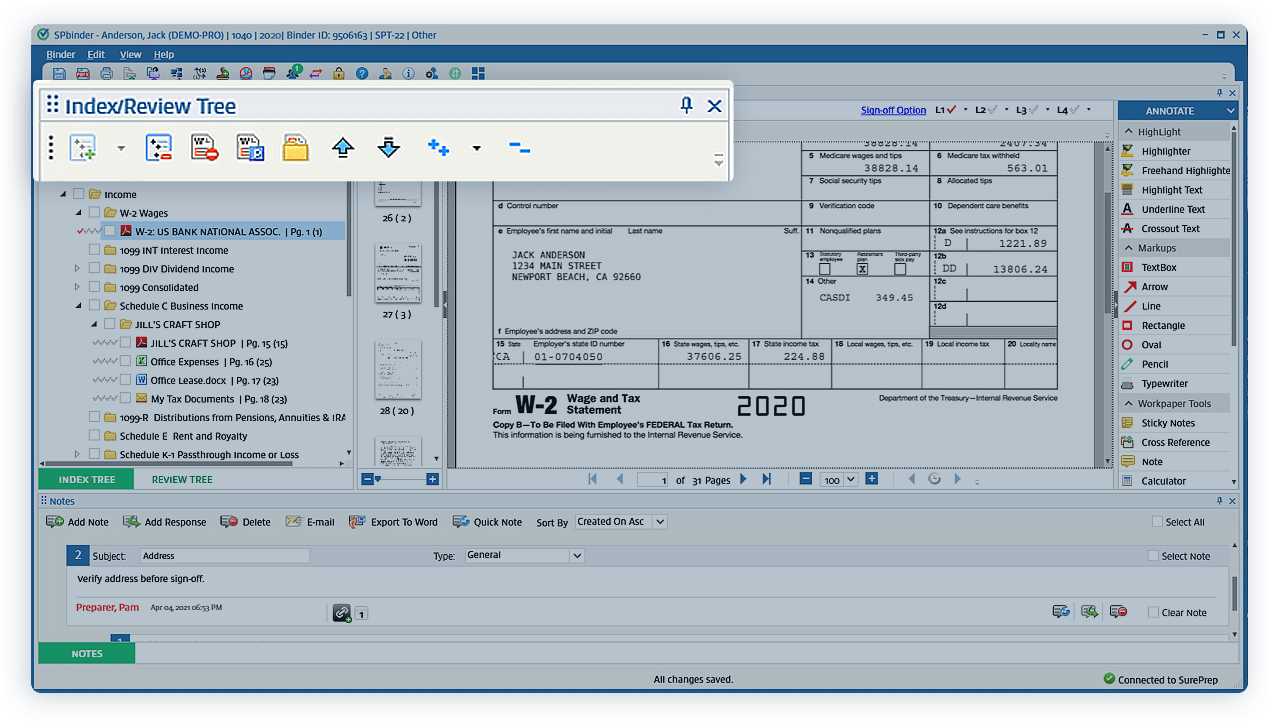
 Add Index: Adds an index to the Index Tree. It contains two further sub-options in the drop-down, ‘Add Index Section’ and ‘Edit Index Section.’
 Disassociate Workpaper/Delete Index: Deletes the selected index and disassociates the workpapers from it. The disassociated workpapers will appear in the thumbnail section.
 Delete Workpaper: Deletes the selected workpapers for the Index Tree and sends them to the ‘Restore Pages’ section of the binder. (I.e., A “soft” delete.)
 Manage Predefined Workpaper: Add/edit/delete predefined workpapers.
 Show Active Folders: Shows workpapers containing data. To go back to the default view of all workpapers, press the icon again.

 Move Workpapers Up/Down: Scroll through the selected pages.

 Expand/Collapse Folders: Expands the Index Tree to shows the contents of all folders and subfolders and collapses the tree to show only the main folders.
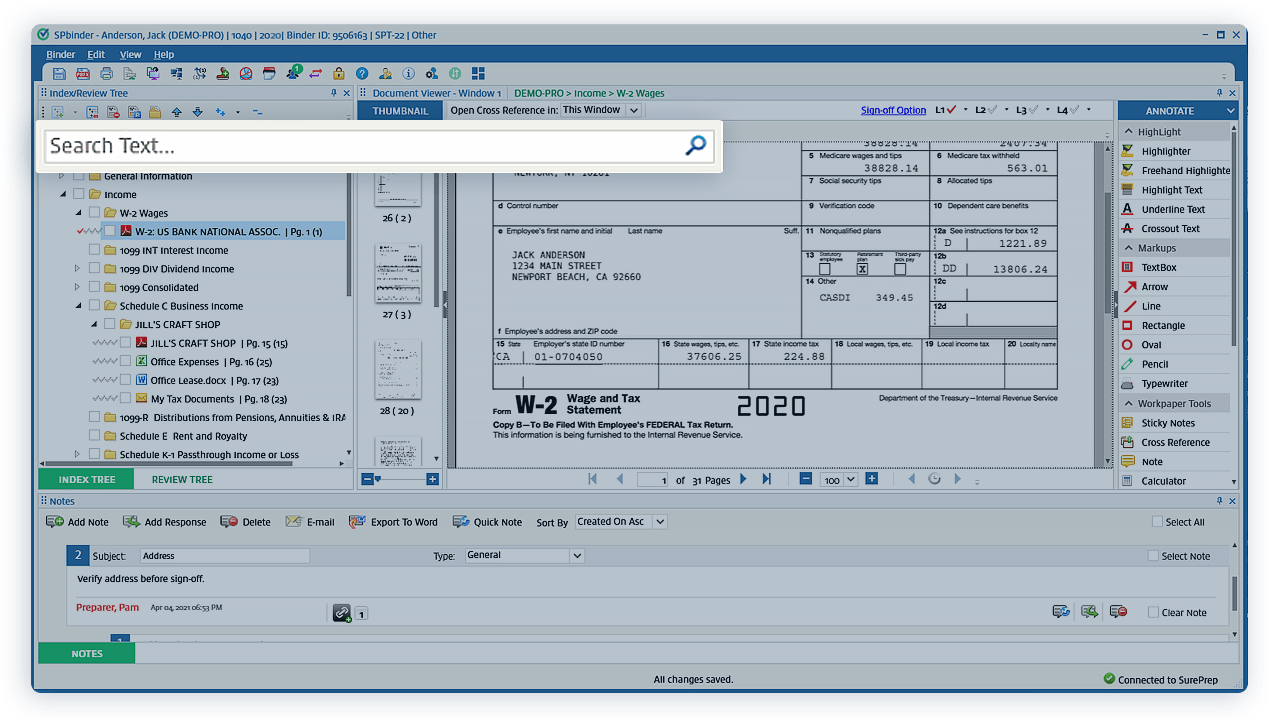
Searching the Index Tree
SPbinder’s Index Tree comes equipped with a search box, which allows users to easily locate folder names, workpaper names, workpaper shortcut names, and proforma placeholders. Search results filter in live while users type.
Editing a workpaper name
To edit the name of a workpaper, right-click the workpaper in the index, then click ‘Edit Workpaper’ on the shortcut menu. A window will appear where users can edit the name and save.
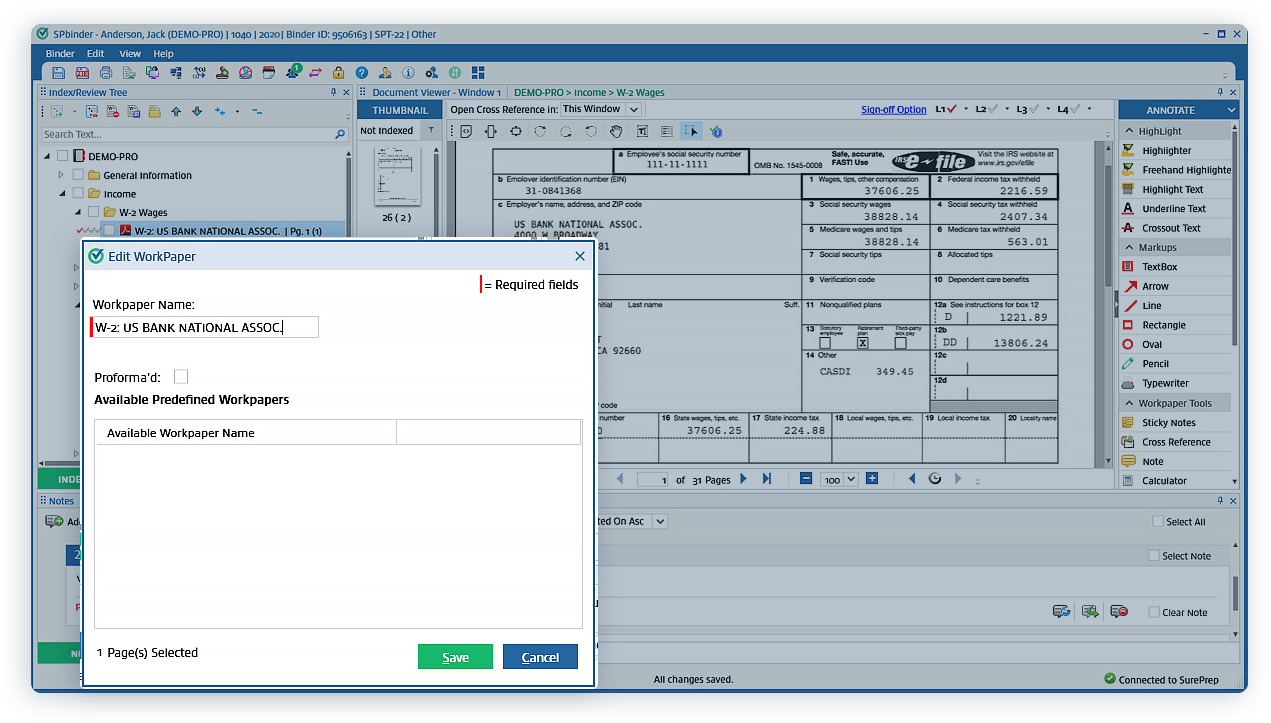
To rename multiple workpapers, select the check box next to all relevant workpapers in the Index Tree, then right-click and select ‘Edit Workpaper.’ A dialogue box will appear to confirm the editing of multiple pages.

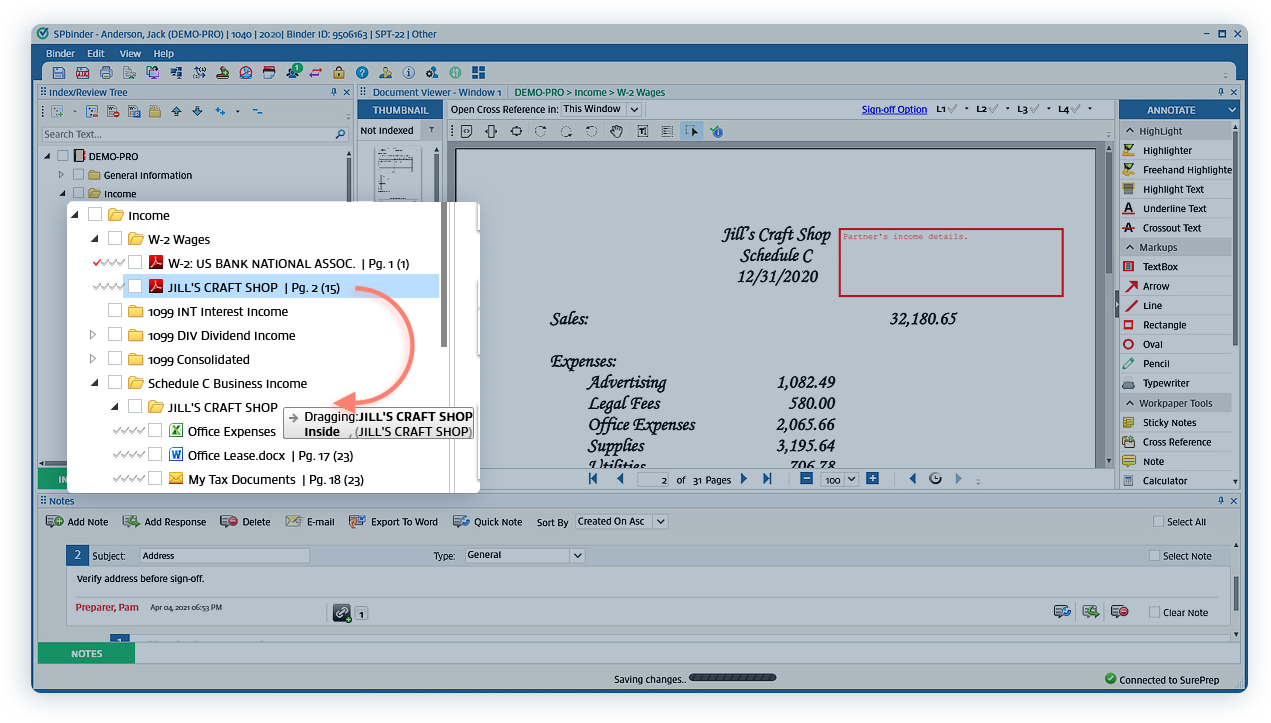
Moving workpapers
To move a workpaper from one folder to another, users can right click and select Move Workpaper(s) or simply drag-and-drop the workpaper into the desired folder.
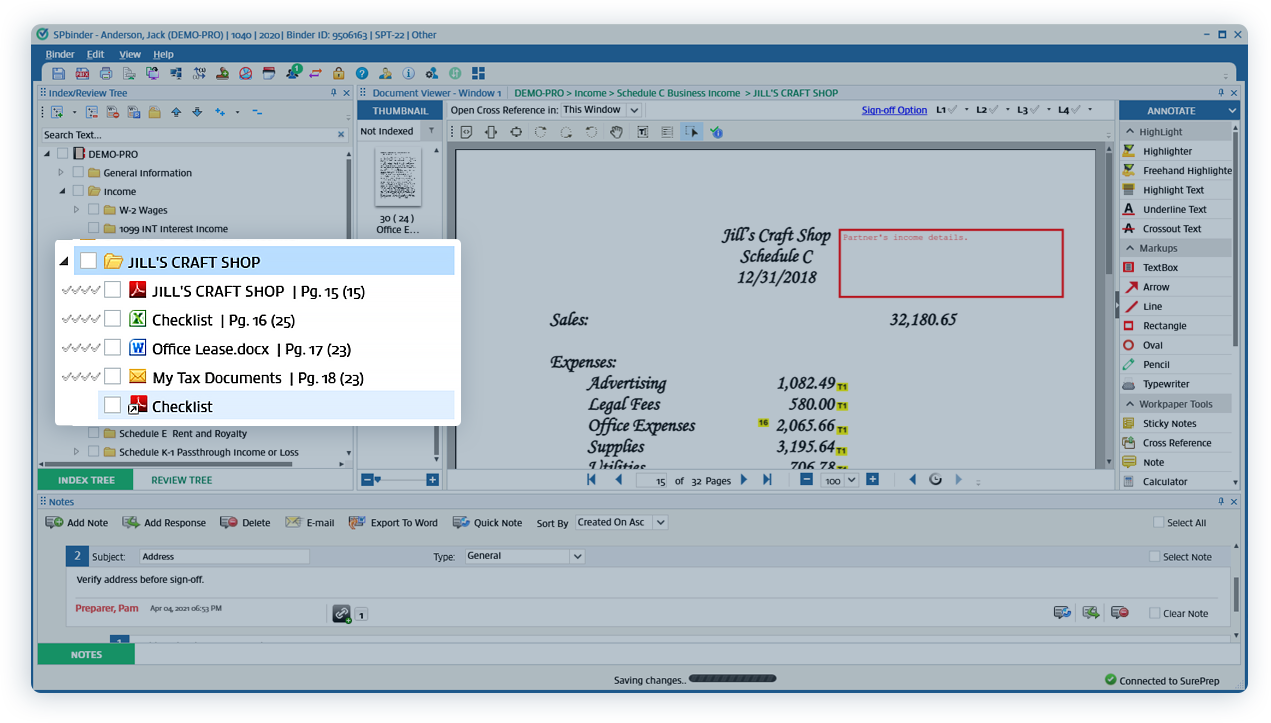
Workpaper shortcuts
In a situation where a workpaper contains information pertinent to multiple areas of the tax return, SPbinder enables users to create workpaper shortcuts to access the relevant page from multiple locations.
This feature comes in handy when indexing files like client-prepared lists, email replies, or organizer information that’s not attached to the original source document.
To create a shortcut, simply select the check-box next to the desired document. Next, navigate to the folder where you’d like the shortcut to appear. Right-click the folder and select ‘Add Workpaper Shortcut.’ A shortcut will appear under the selected folder.
Toward the bottom of the Index Tree, you will see three folders: Prior Year Information, Unassociated Workpapers, and Unused. These folders should be reviewed by the preparer to ascertain if they contain pertinent information.
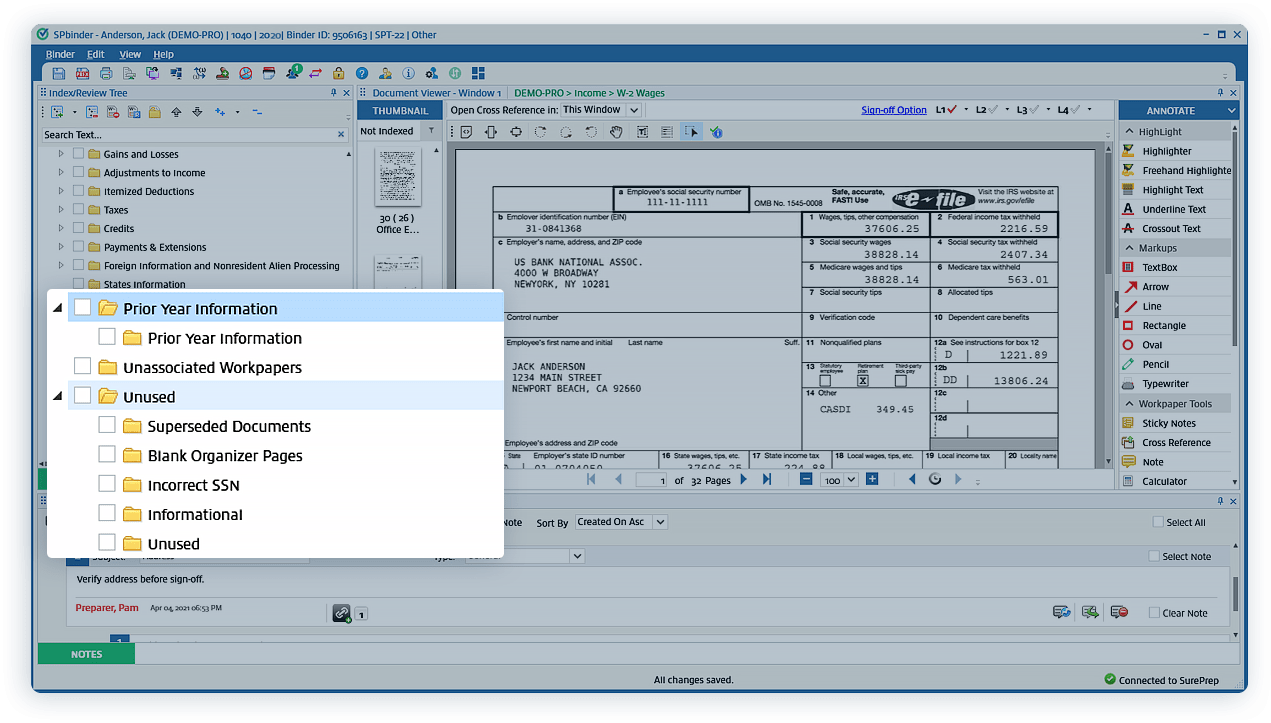
Prior Year Information: Workpapers that were marked to roll forward from the prior year.
Unassociated Workpapers: Documents that can flow to different areas of the tax return and were not associated to a specific input form during the Review Wizard.
Unused Folders: This folder contains a variety of miscellaneous documents across five sub-folders: Superseded Documents, Blank Organizer Pages, Incorrect SSN, Informational, and Unused. If these subfolders contain documents, they will show an ‘Expand’ icon next to them.